Efficient File Transfer with SCP: Bridging the Gap Between Local and Remote Machines


Secure Copy (SCP) is a powerful and reliable file transfer tool in Linux, designed to ensure the utmost security and efficiency when transferring files between local and remote systems.
Understanding SCP: The Secure File Copy Tool
The scp command in Linux is an incredibly versatile and reliable file transfer tool, renowned for its utmost security and efficiency. Its name, which stands for "Secure Copy," perfectly captures its commitment to safeguarding your data as you seamlessly move files between local and remote systems over a network.
With scp, your files are not only transferred swiftly but also encrypted along the way, ensuring that your sensitive information remains protected during transit. This powerful combination of speed and security makes scp an indispensable asset for any individual or organization seeking to securely exchange files across various machines.
Experience the ease and peace of mind that comes with using scp, as it effortlessly handles your file transfer needs, whether you're transferring large datasets, important documents, or even intricate directories. Let scp be your trusted companion in the realm of file transfer, providing a reliable, secure, and efficient solution to effortlessly bridge the gap between different systems, all while safeguarding your valuable data.
Basic Syntax of scp
The basic usage of scp is shown below:
scp [options] <source> <destination>
scp: This is the command itself and it stands for secure copy
options: Optional flags that modify the behavior of the scp command. These flags allow you to specify additional options, such as preserving file attributes, enabling verbose output, setting port numbers etc.
Some of the popular options used include the following:
-p: Preserves the modification times, access times, and permissions of the copied files.
-r: Recursively copies directories and their contents.
-P <port>: Specifies the port number to use for the SSH connection. By default, scp uses port 22.
-i <identity file>: Specifies the private key file to use for authentication instead of the default file.
-C: Enables compression during the transfer, reducing the file size for faster transfers over slow network connections.
<source>: This refers to the file or directory you want to copy. It can be a local file/directory on your system or a remote file/directory on the remote system.
<destination>: This indicates the target location where you want to copy the file or directory. It can be a local destination or a remote destination specified using the format [user@]host:directory
How to copy a file from your local system to a remote system
In this tutorial, we will explore the process of transferring a file from your personal computer, which is commonly referred to as a local machine, to a remote system or server. If you're already familiar with the concept of a local machine and a remote server, we can proceed. However, if you're unfamiliar with these terms, don't worry, I will explain.
A local machine or system typically refers to the computer that you use within a smaller setting, like your home or office. It's the device you are currently using, such as your phone or PC, to access and read this article.
A remote system refers to a computer that is located elsewhere, away from the user. It can be accessed and controlled over a network or the internet. It allows users to interact with and manage the remote computer from their local machine, regardless of the physical distance between them.
In simple terms, a local machine is physically accessible to the user, while a remote system is not physically present and is located elsewhere.
In essence, we will delve into the steps required to securely copy a file from your computer to a distant system, which is often a server maintained remotely. This tutorial will equip you with the knowledge to effortlessly transfer files between these two entities, enabling you to efficiently manage your data across different machines.
Now that we understand the concept of local and remote machines, let's explore the process of transferring files from a local machine to a remote server.
In this tutorial, I will use the following placeholders for our remote server: a pseudo username "ubuntu" and an IP address "54.90.39.107". Additionally, we'll work with a file named "myfile.txt" to illustrate the file transfer process.
Syntax:
To securely transfer the file "myfile.txt" from your local machine to a remote server with the username "ubuntu" and the IP address "54.90.39.107", you can utilize the modified scp command provided below:
scp -i ~/.ssh/id_rsa myfile.txt ubuntu@54.90.39.107: ~/dir
Replace "ubuntu" and 54.90.39.107 with the username and IP address of the server you wish to transfer to.
In this command, the option "-i " is used to specify the private key file for authentication during the transfer. The "~/.ssh/id_rsa" represents the default location of the private key file on your local machine. By including this option, you ensure that the scp command uses the specified private key for authentication.
The username "ubuntu" is followed by the "@" symbol, indicating the remote server's address. Then, the IP address "54.90.39.107" is provided. Finally, the destination directory on the remote server is specified as "~/dir", where the tilde (~) represents the user's root directory.
By incorporating the "-i ~/.ssh/id_rsa" option, you enhance the security of the scp transfer by leveraging key-based authentication. This method ensures that only users with the corresponding private key can access and transfer the file to the remote server.
NB: The -i option was used, as earlier discussed, to specify the private key file to use for authentication.
Below is a demonstration of the process on my Ubuntu terminal.
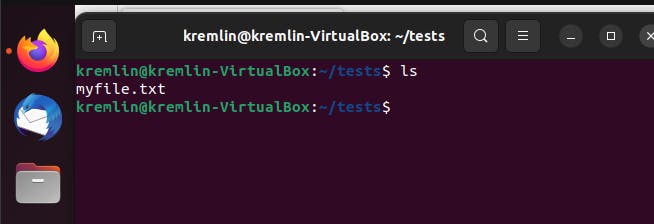
The image above depicts the current state of my local machine. Take note of the username kremlin@kremlin-VirtualBox:~/tests$ signifying I am currently on my local machine.
From the image above, it can be seen that I have created the file we want to transfer to our server. That is myfile.txt.
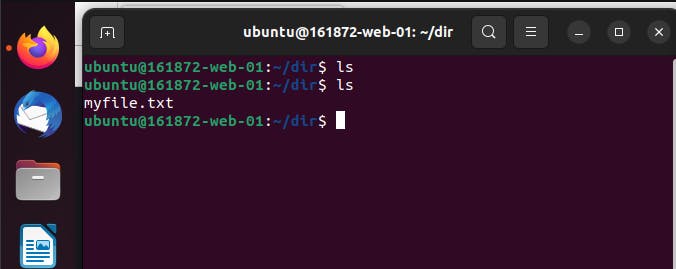
The image below shows the current state of my remote server.

Upon inspecting the remote server, we can observe the current state of its directory. It's important to note the distinction in usernames between the local machine and the remote server. Specifically, the username "ubuntu@161872-web-01:/dir$" on the remote server contrasts with "kremlin@kremlin-VirtualBox:/tests$" on the local machine.
NB: Before the transfer, the ls command was used to verify the contents of the "/dir" directory on the remote server, which indicated that it was initially empty.
To transfer the file from the local machine directory "kremlin@kremlin-VirtualBox:/tests$" to the remote server directory "ubuntu@161872-web-01:/dir$", the following command was executed in the terminal:
scp -i ~/.ssh/school myfile.txt ubuntu@54.90.39.107:~/dir/
NB: By default the private key is stored in id_rsa but on my system, I have it stored in the file school which is why you are seeing ~/.ssh/school instead of ~/.ssh/id_rsa.
As shown in the image below:

From the image above, it can be seen that myfile.txt was successfully transferred to our remote server.
In the output provided, the values represent the following:
myfile.txt: This indicates the name of the file being transferred.100%: This indicates the progress of the file transfer. In this case, it signifies that the transfer ofmyfile.txtis complete.6: This represents the file size ofmyfile.txtin kilobytes (KB).0.0KB/s: This indicates the transfer speed of the file, which in this case is 0.0 kilobytes per second.00:00: This represents the elapsed time of the file transfer, which is 00 minutes and 00 seconds.
Now that we have been able to transfer myfile.txt successfully. we can check its presence on our remote server.
The successful transfer of myfile.txt from our local machine to the remote server is further confirmed by the presence of the file when using the ls command to list the contents of the /dir folder. Initially, myfile.txt was not present in the remote server's directory, but now it is, indicating that the transfer was completed successfully.
Conclusion
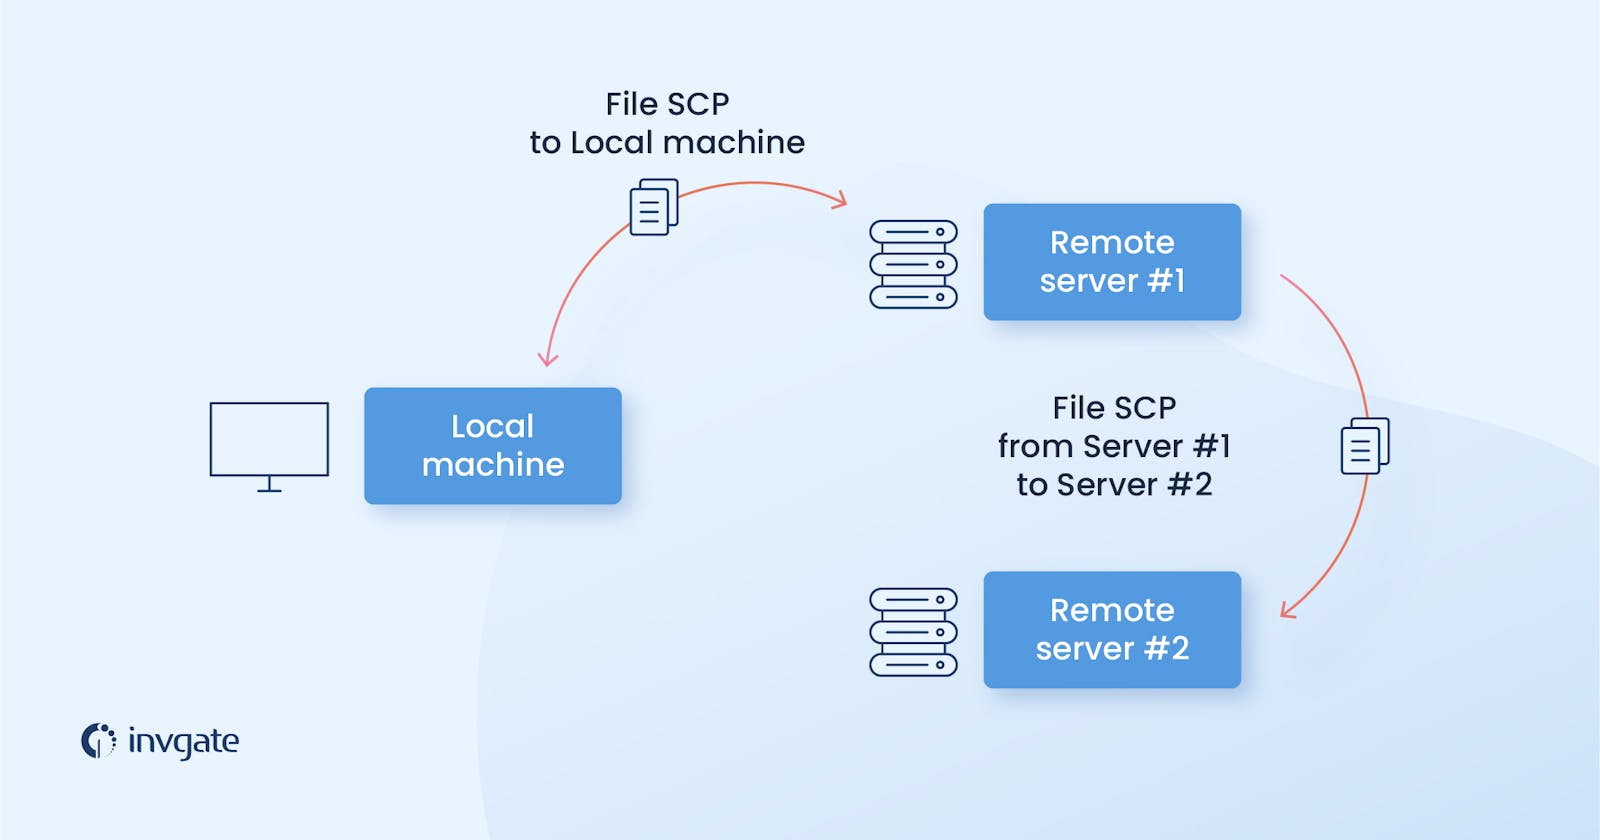
SCP provides users with a seamless and secure solution to exchange files across various machines, capitalizing on its remarkable speed, encryption, and user-friendly nature. Whether the need is to transfer large datasets, essential documents, or complex directories, SCP stands as a reliable companion, guaranteeing peace of mind and the protection of valuable data at every step of the transfer process. It's worth noting that while the tutorial focused on transferring from a local machine to a remote server, SCP is equally capable of facilitating remote-to-local transfers and server-to-server transfers, as long as the user possesses the necessary access rights.
Feel free to reach out to me on Twitter at Yaw__Amponsah or via email at yawamp27@gmail.com for any further inquiries or discussions.